The 2-step Amazon wall sconce glow-up that transformed my kitchen

The 2nd, up and down wall sconce, wall sconce 2 light, 2 step amazon, wall light sconce amazon, two tone wall sconce, the 2 step song, step 2 rock climbing wall, step 2 rock wall slide, black 2 light wall sconce.

We are finally at that explain in our farmhouse renovation where the fun stuff is happening! I'm talking approximately picking out bathroom fixtures, thinking about furniture placement and putting in lighting!
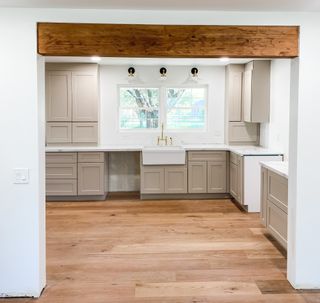
I really demanded to highlight the area over our 6' kitchen window and farmhouse sink. Our electrician wired for three sconce escapes over the window very early on and I've been thinking approximately something fun to put there ever since. Wall sconces make classic kitchen lighting ideas but if you want a unusual finish, you can end up paying a pretty high cost for something that looks good.
And generally proverb, lighting can be so expensive – especially when we're talking approximately new lighting fixtures for the entire house! I didn't want these sconces to break the bank but the sconces I originally presumed retailed over $200 each... Making this area a $600 expenditure!
So I was eager to find an alternative. As I was scrolling Amazon one day I came across a very contrast sconce in style to the one I had succeeded but for only $35!!
The original Amazon wall sconces I bought
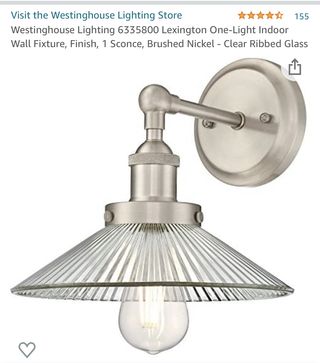
(Image credit: Brooke Waite | Amazon)
The brushed nickel attain light comes with on trend ribbed glass and takes one 60W medium base exquisite bulb.
" data-widget-type="deal" data-render-type="editorial">How to upgrade wall sconces: DIY
This some sconce comes in a few different options and metals to resolve from. I knew I wanted a clear ribbed glass sad so I ordered the nickel sconces from Amazon with the obvious shade, planning to do something fun with the metal finish.
I had several cans of gold spray paint from survive projects, some liquid gold leaf, and some rub 'n buff also in gold so I tried to work with that to save more cash consume the way.
Materials used:
- Spray paint in gold and black
- Gold rub 'n buff
- Liquid gold
- Plastic gloves
- Painters tape
- Plastic bags
Step 1: Finding the ghastly finish
For the first part of the project I derived the glass shade and wrapped a plastic bag and taped throughout the mounting plate and cover. I started spraying a coat of gold paint in a concern brassy finish and wasn't loving it. It wasn't as intellectual as I wanted.
Next, I tried some liquid gold leaf but the attain was too rosy, haha.
This was definitely a treat of elimination! The last thing I tried was a gold spray paint from Rustoleum in the intellectual, 'Metallic Gold". This was exactly what I was looking for!
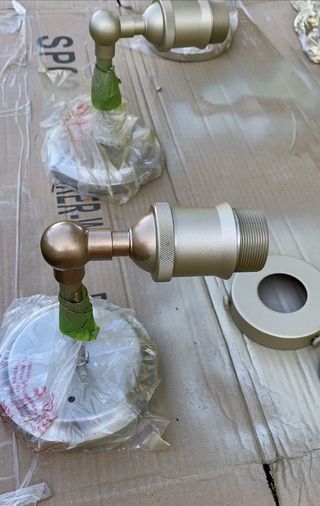
(Image credit: Brooke Waite)
Step 2: Moving onto the peruse cover
I left the sconces to dry overnight. The next morning I derived the plastic and taped off the gold part I had just painted in shapely to spray the mounting plate cover. This was the easy part because my go-to sad spray paint is always matte black paint + primer from Rustoleum.
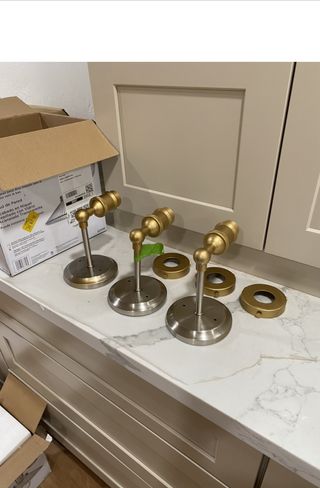
(Image credit: Brooke Waite)
The results:
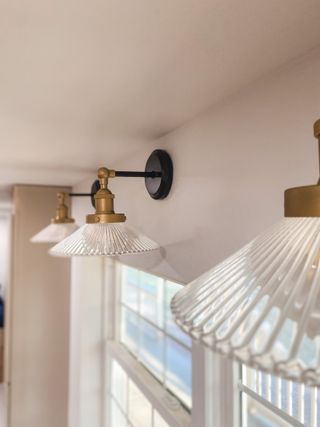
(Image credit: Brooke Waite)
I love this two-toned combination paired with the distinct ribbed glass shade. It complements our kitchen decor so well, adding a sophisticated but current touch to the space.
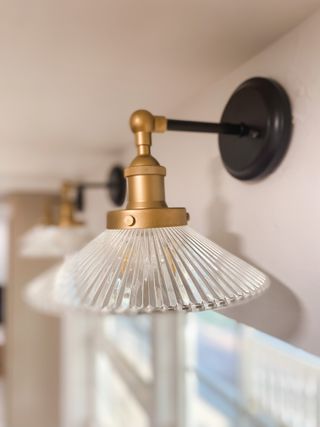
(Image credit: Brooke Waite)
All in all, the sconces were a $105 plus materials, which I actually had on hand! So this DIY project literally cost 1/6th the cost of my current sconces! Money saved, and I'm so thrilled with how they look in our kitchen.
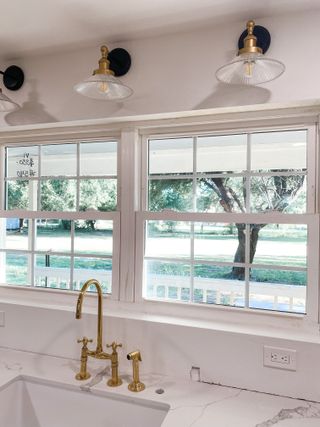
(Image credit: Brooke Waite)
Project cost breakdown:
- Sconces – $105
- Spray paint – $10
- Rub 'n buff – $7
- Painters tape – $5
Total cost $127
(Image credit: Brooke Waite)
Source


Comments
Post a Comment